When you are in hybrid cloud setup with azure, using site-to-site VPN gateway you can have better continuity for your workloads. in this post, I am going to demonstrate how to set up site-to-site VPN Gateway.
Requirements
Before start make sure you have following in place.
1) VPN device – you need to have VPN device in on-premises to create the VPN connection with azure. the supported list of devices can found on here. Also, you need to have the relevant knowledge to configure it on your device. I am not going to cover it in details here as settings are different based on the vendor.
2) Static Public IP address – your VPN device should have external public IP address and it shouldn’t be NAT.
3) Valid Azure Subscription – Of because you need active Azure subscription. It can be paid or free trial.
Create Virtual Network
If you already have virtual network setup in your azure subscription, you will not need to do this step but make sure the settings are correct.
1) Log in to the azure portal.
2) Go to New > Networking > Virtual Network
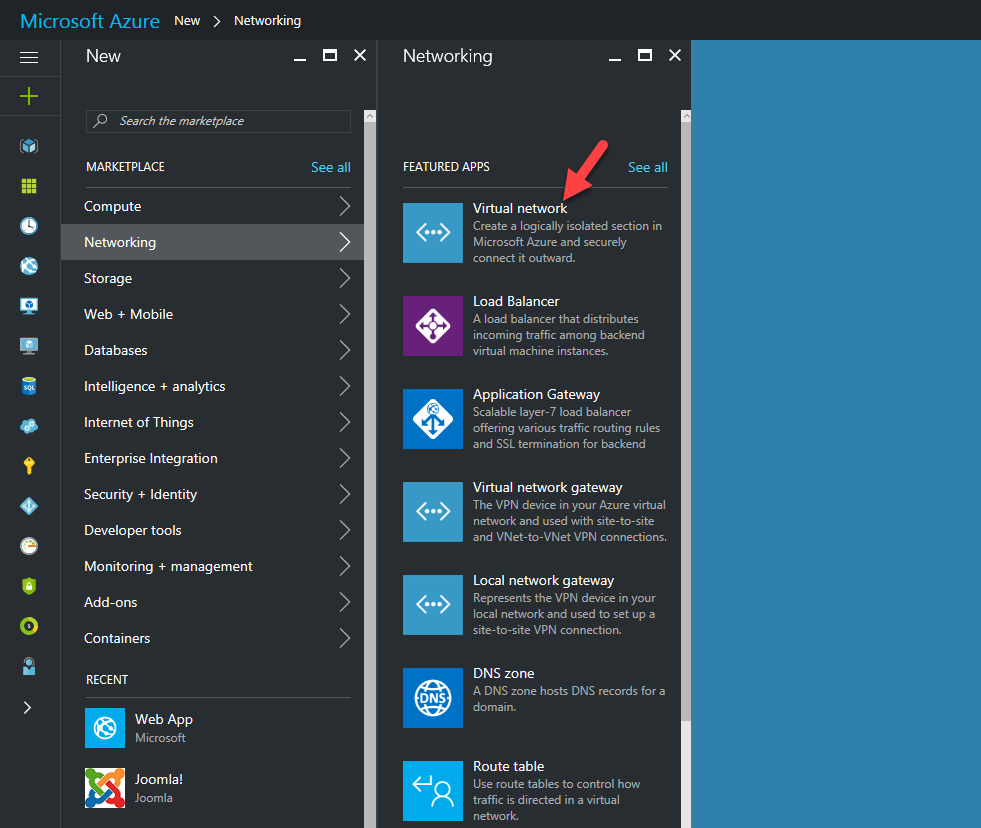
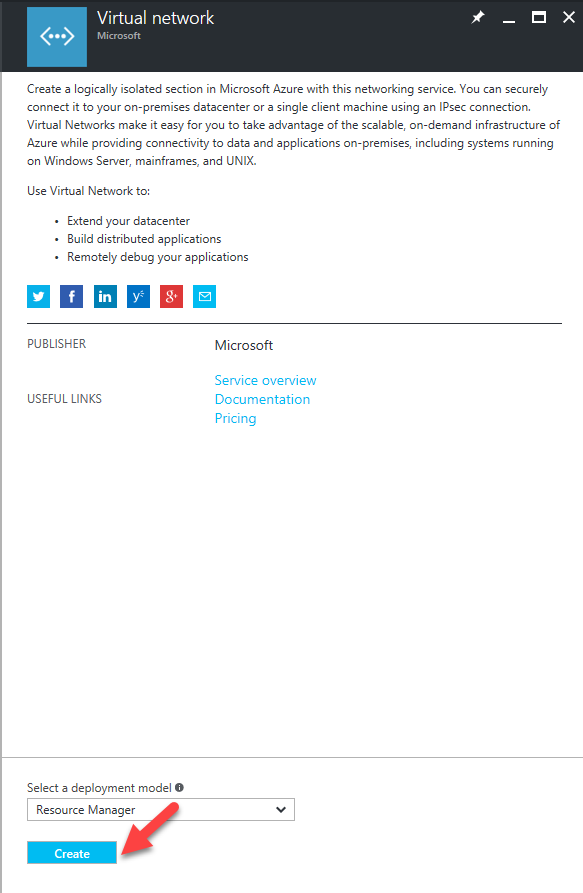
3) Then click on create
4) In next page, it will open up the wizard with the VNet information. In their fill the information to match with your configuration.
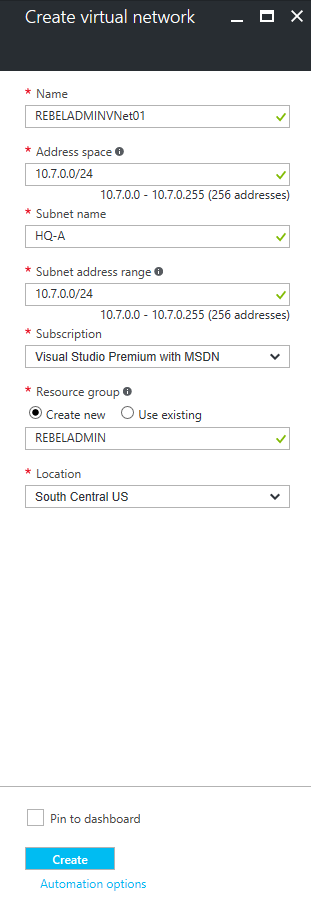
Name – Name for the VNet
Address Space – IP range for the VNet. If you have multiple Address ranges, it can add later.
Subnet name – Name for the subnet you like to add
Subnet Address range – Subnet IP range (it must be within the Address Space listed before)
Resource Group – Can create new group or select existing group
Location – location of the VNet
After that click on create continue.
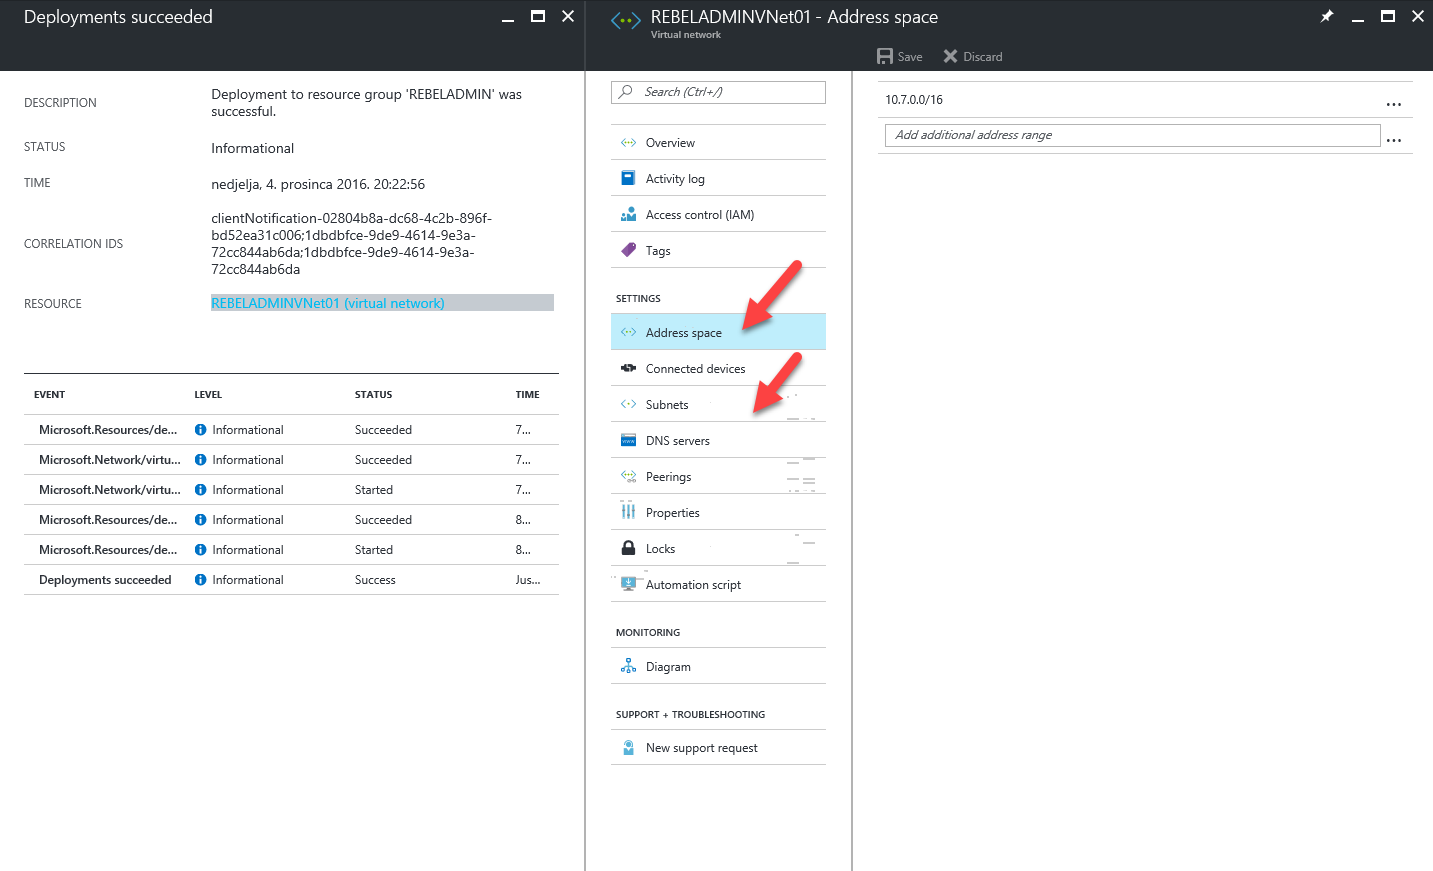
5) Once VNet created, can modify the address ranges and subnets.
Create Gateway Subnet
Next step is to create gateway subnet for the VNet. It is recommended to use /28 or /27 for gateway subnet. This need to be done before connecting VNet to the gateway.
1) Log in to the Azure Portal
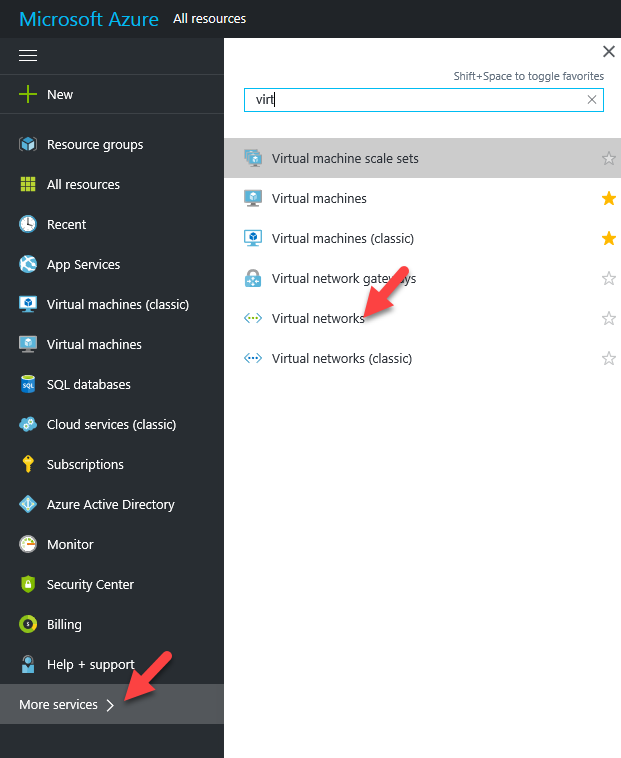
2) Then go to More Services > Virtual Networks
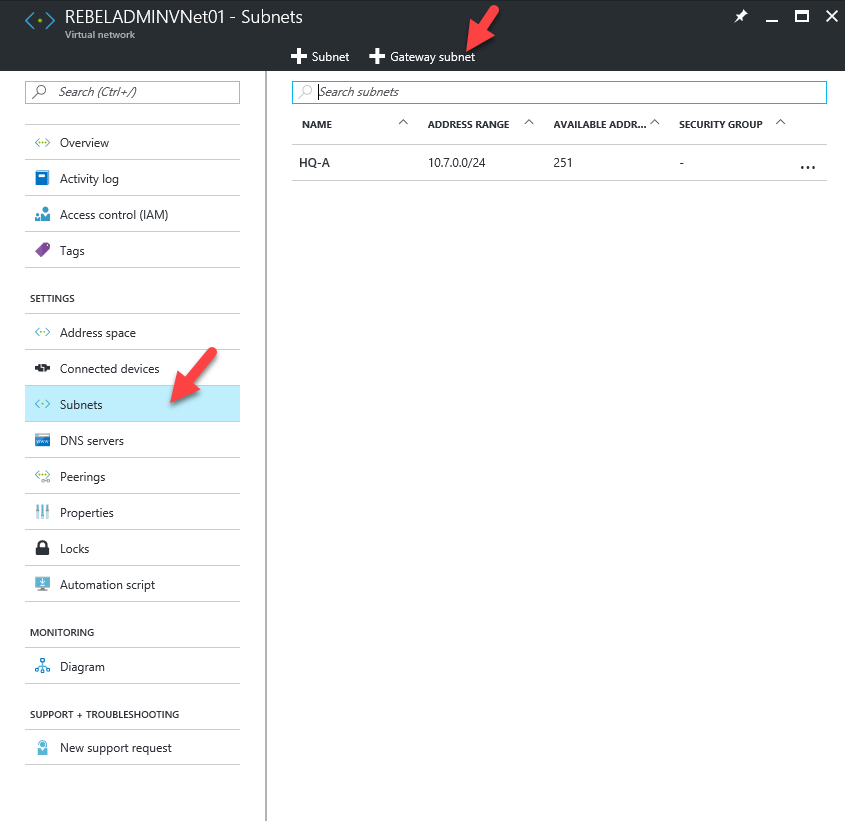
3) Then click on the VNet, created on previous step and click on subnets. Then click on gateway subnet
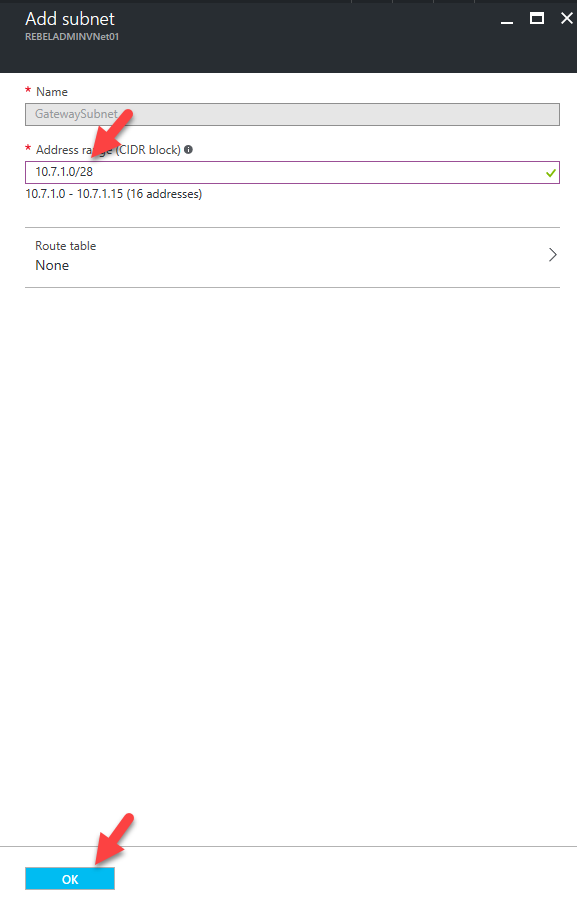
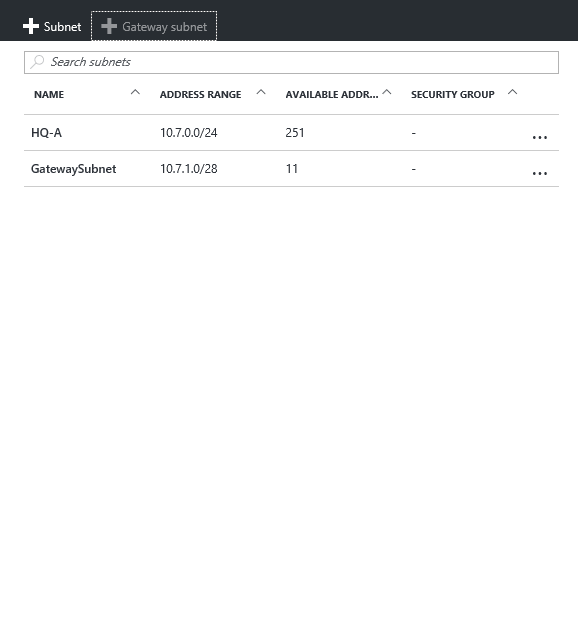
4) In the next window define the subnet for the gateway and click OK
Create Virtual Network Gateway
Next step is to create virtual network gateway.
1) Log in to azure portal
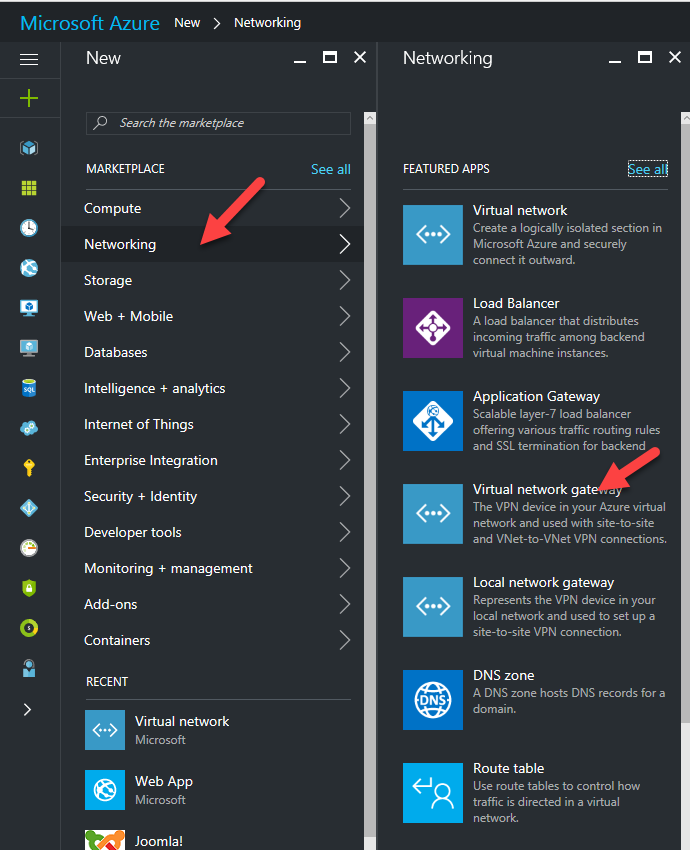
2) Go to New > Networking > Virtual Network Gateway
3) In next window fill the relevant information and click on Create
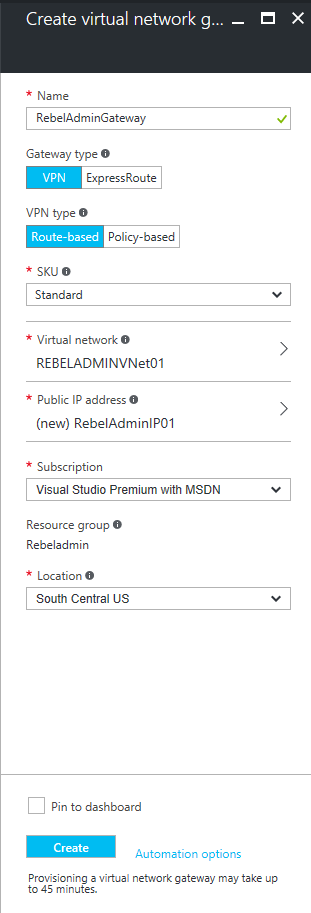
Name – Name for the virtual network gateway
Gateway Type – For our VPN it will be VPN
VPN Type – Type of the VPN and regular VPN will be route-based
SKU – SKU for the VPN type
Virtual Network – in here select the VNet you have created following previous step
Public IP Address – VPN need to have public IP address. Select public IP from here or if you don’t have, once you click on the option it will allow you to add new one.
Location – make sure you select the correct region to match with VNet region.
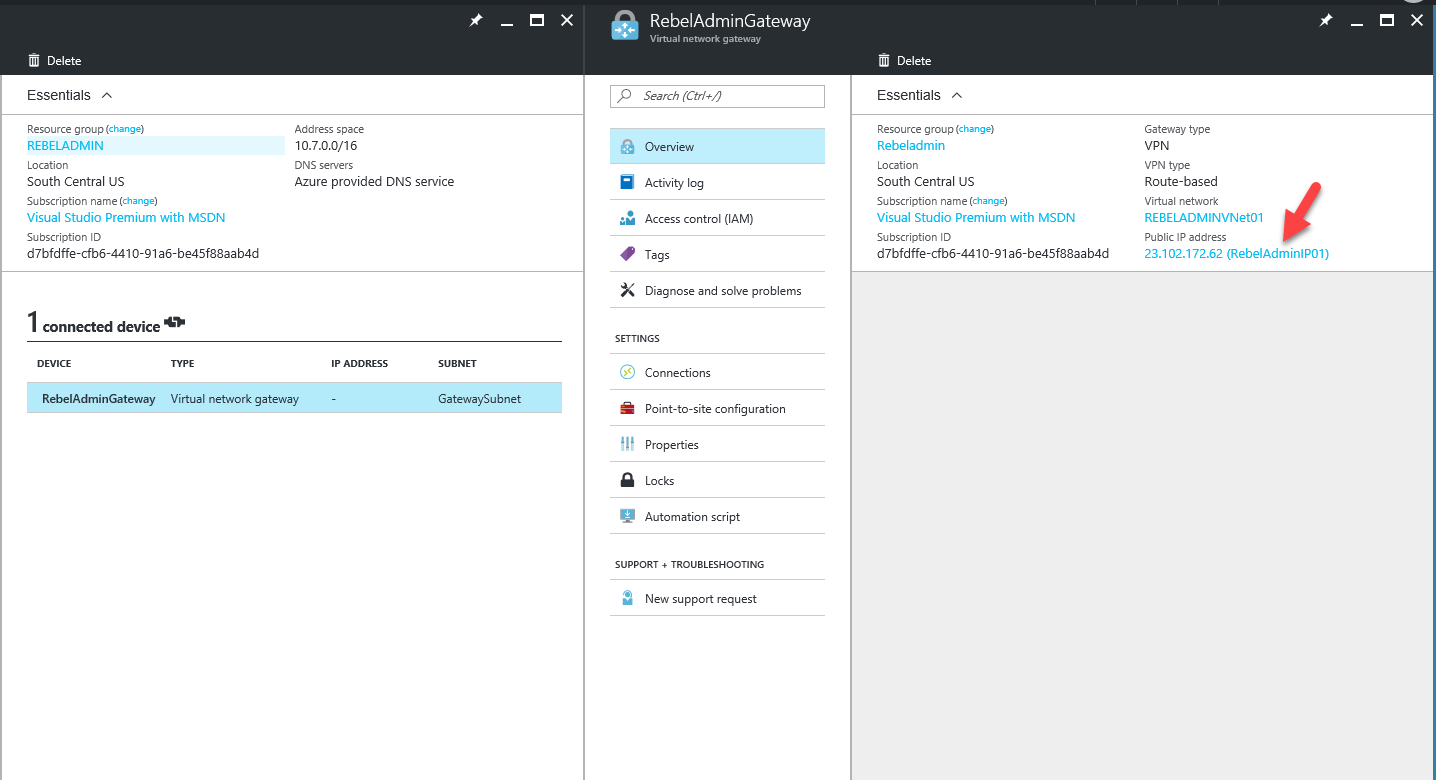
4) It can take up to 45 minutes to complete the task. Once it’s done can see the public IP address details. You need this to configure the VPN device in yours on premises device.
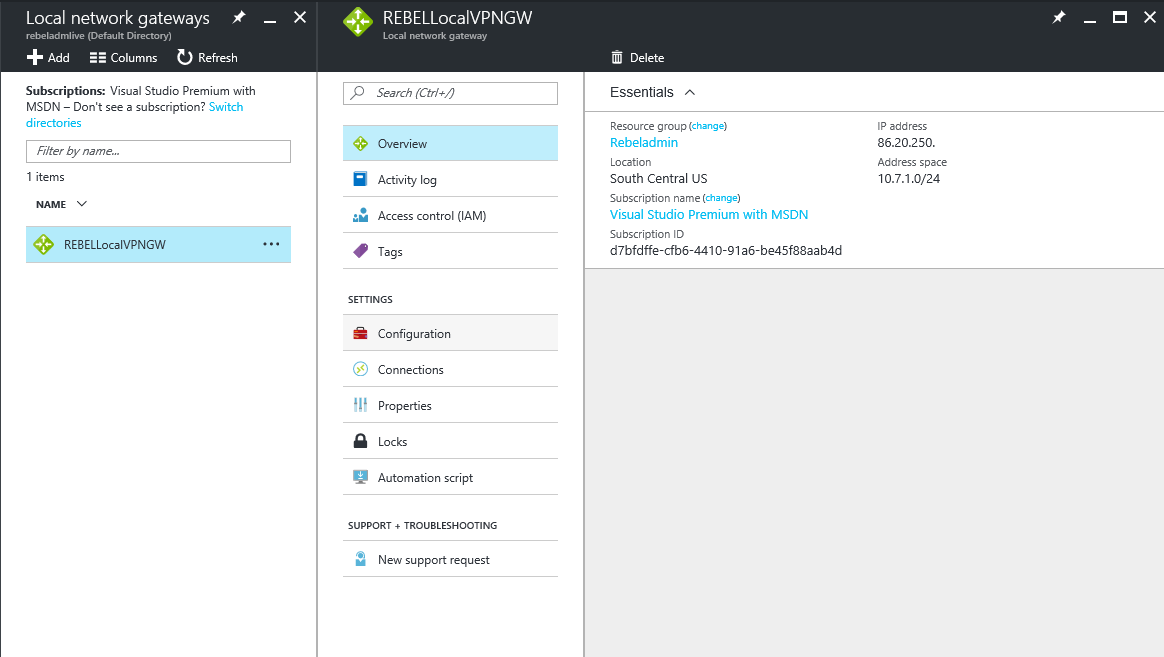
Create Local Network Gateway
The next step is to create local gateway which represent your local network. To create it,
1) Log in to azure portal
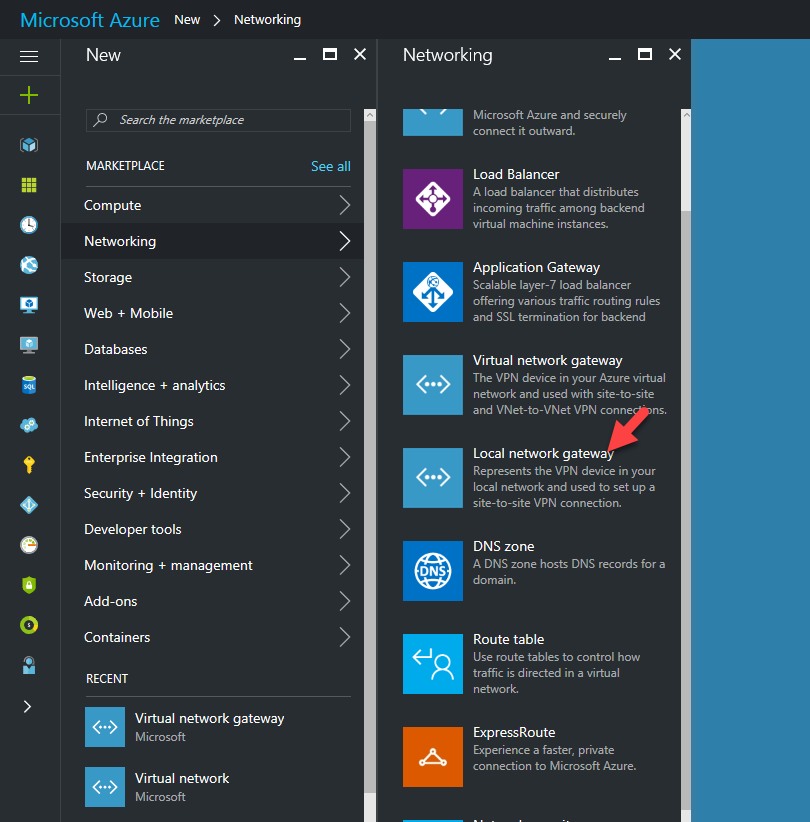
2) Go to New > Networking > Local network gateway
3) Then it will open new wizard and fill the relevant information. After that click on create to proceed
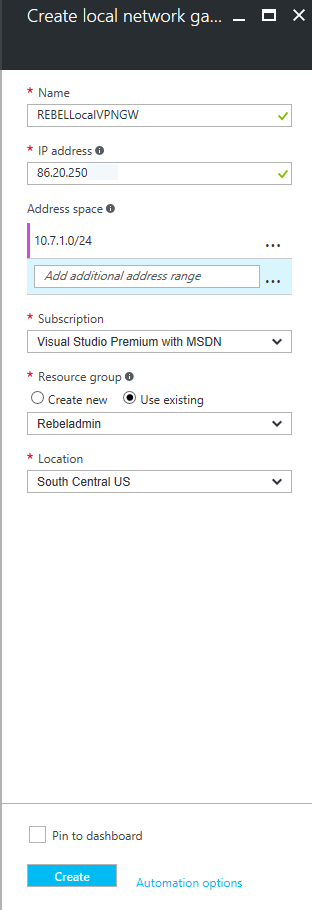
Name – Name for the local gateway
IP Address – Public IP address to represent your VPN device. It should not behind NAT.
Address Space – This is yours on premises address ranges. You can add multiple ranges.
Resource Group – you can create new resource group or use the same one you were using.
Create Site-to-Site VPN
Then next step is to create Site-to-Site VPN connection between your VPN device and the virtual network gateway. To create it,
1) Log in to azure portal
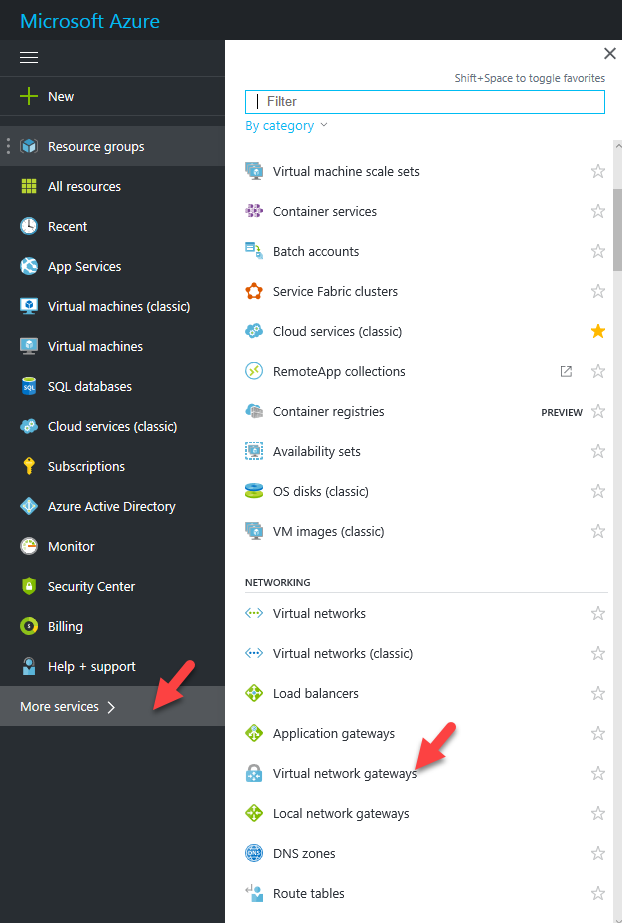
2) Go to More Services > Virtual network gateways
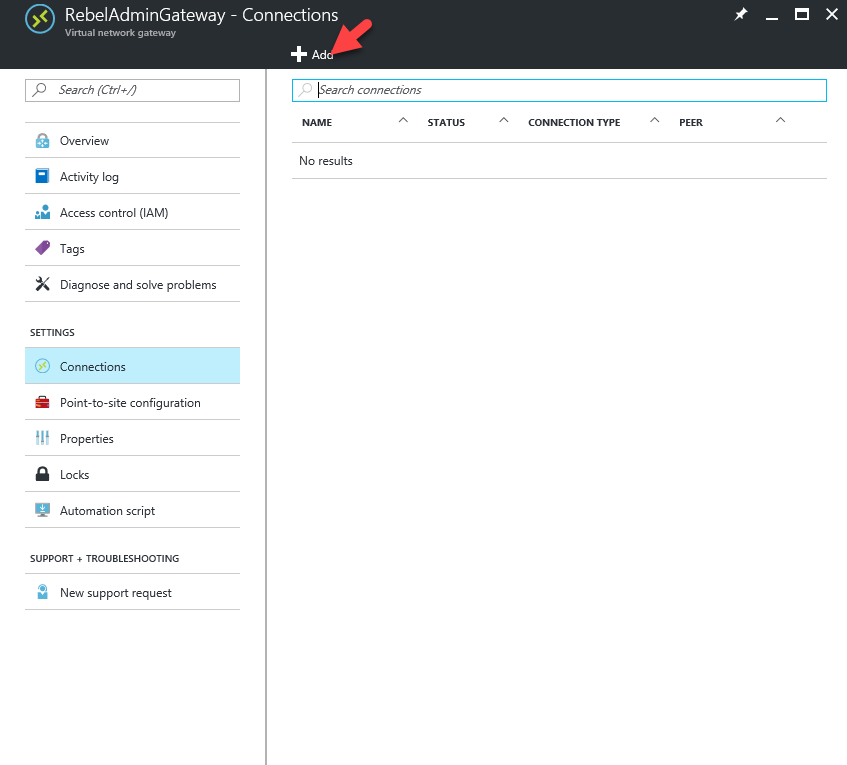
3) Then click on the virtual network gateway you created and, under the settings tab, click on connection
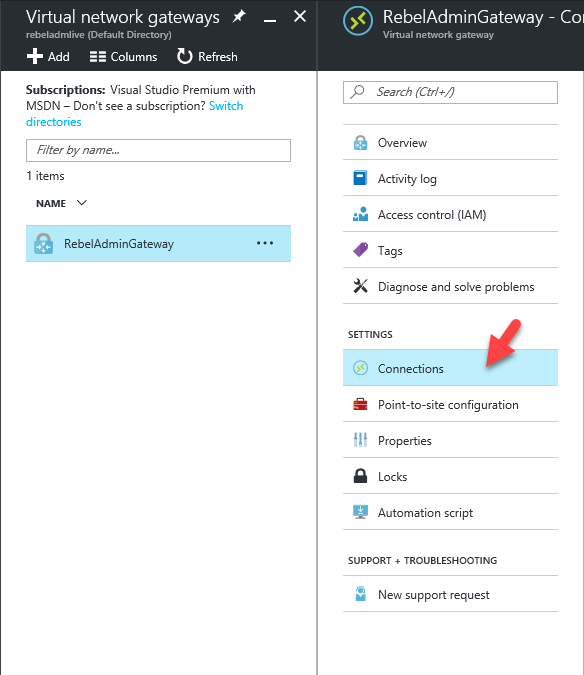
4) Then click on add
5) In the wizard fill the relevant information and click ok.
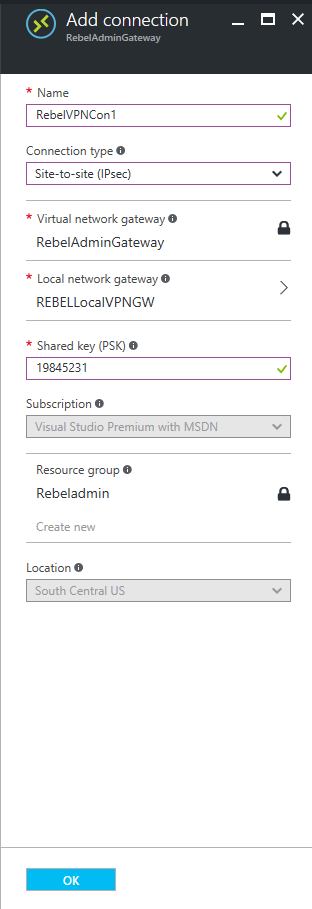
Name – Name of the connection
Connection Type – Type of the VPN. Most of the time its site-to-site
Virtual Network Gateway – you need to select the relevant virtual network gateway
Local Network Gateway – in here need to select the relevant local network gateway for your connection
Shared Key – This is the pre-shared key you going to use for the VPN configuration
6) Once its created it’s all about configuring the VPN in your VPN device.
7) Once connected you can see the status in same page by clicking on connection.

Hope this was helpful.