by Martin Bengtsson
Introduction
I have previously covered the approach on how to install Google Chrome extensions using System Center Configuration Manager. Find my post here: https://www.imab.dk/forcefully-deploy-the-windows-defender-google-chrome-extension-using-configuration-manager/
Then it came to my attention that Microsoft released another and new extension for Chrome last week. It’s called Microsoft Web Activities. This made me go through the approach again, and figured I wanted to cover the methods on how to install Google Chrome Extensions using Microsoft Intune.
Method 1: Powershell Script
I know this is covered a lot of times on other blogs, and scripts for this purpose exists in various editions. No excuse though – this is my edition, which I believe does it a tad differently.
The script does following in details:
- Creates registry path for the ExtensionInstallForcelist if it doesn’t exist. If extensions are added to the device by other means such as GPO or MDM, chances are this path exist already
- If extensions are added by other means, there will exist registry key properties with unique consecutive numbers in the path. You don’t want to re-use a number in that case, which is why I loop through existing extensions prior to adding any new. Great!
- If no extensions already added, we skip doing something complicated and just add the extensions as the first one
- If the extension is not added already, the script adds it
- An extension is defined by an unique ID and the Google URL. Example: eiipeonhflhoiacfbniealbdjoeoglid;https://clients2.google.com/service/update2/crx
- Writing to host in case shit happens – I know real Powershell pros oppose this approach, but I’m just a newbie script kiddie
<#
.DESCRIPTION
    Adds the Microsoft Web Activities Google Chrome extension to the forced install list.
    Can be used for forcing installaiton of any Google Chrome extension.
    Takes existing extensions into account which might be added by other means, such as GPO and MDM.
    Assuming a maximum of possible installed extensions never exceeds a count of 20 - this can be changed as well. (who has more than 20 forced extensions added to Chrome? :-D)

.NOTES
    Filename: Install-GoogleChromeExtensions
    Version: 1.0
    Author: Martin Bengtsson
    Blog: www.imab.dk
    Twitter: @mwbengtsson

#>

# Function to enumerate registry values
Function Get-RegistryValues {
    param(
        [Parameter(Mandatory=$true)]
        [string]$Path
    )

    Push-Location
    Set-Location -Path $Path
    Get-Item . | Select-Object -ExpandProperty property | ForEach-Object {
        New-Object psobject -Property @{“Property”=$_;“Value” = (Get-ItemProperty -Path . -Name $_).$_}
    }
    Pop-Location
}

# Registry path for the ExtensionInstallForcelist
$RegistryPath = "HKLM:\SOFTWARE\Policies\Google\Chrome\ExtensionInstallForcelist"
$KeyType = "String"

# Microsoft Web Activities Extension. This can be any extension. Modify to suit any needs
$ExtensionID = "eiipeonhflhoiacfbniealbdjoeoglid;https://clients2.google.com/service/update2/crx"

# Registry path does not exist. Creating the path
if (-not(Test-Path -Path $RegistryPath)) {
    Write-Host -ForegroundColor Red "Registry patch on $RegistryPath does not exist - trying to create it"
    try {
        New-Item -Path $RegistryPath -Force
    }
    catch {
        Write-Host -ForegroundColor Red "Failed to create registry path"
    }
}

# Loop through the existing values and properties in the registry
$InstalledExtensionsProperties = Get-RegistryValues -Path $RegistryPath | Select-Object Property
$InstalledExtensions = Get-RegistryValues -Path $RegistryPath | Select-Object Value

# Assuming that the list of forced extensions will never exceed a count of 20
$Values = 1..20

# If no registry key properties found, continue do something. No need to do something complicated, if no extensions exists already.
if ($InstalledExtensionsProperties -ne $null) {

    # Finding next available number for use in KeyName
    $NextNumber = Compare-Object $InstalledExtensionsProperties.Property $Values | Select-Object -First 1
    $KeyName = $NextNumber.InputObject

    # If the extension is not installed already, install it
    if ($InstalledExtensions -match $ExtensionID) {
        Write-Host -ForegroundColor Green "$ExtensionID is already added. Doing nothing :-)"

    }
    # else try to add the extension please
    else {
        Write-Host -ForegroundColor Red "The extenion $ExtensionID is not found. Adding it."
        try {
            New-ItemProperty -Path $RegistryPath -Name $KeyName -PropertyType $KeyType -Value $ExtensionID
        }
        catch {
            Write-Host -ForegroundColor Red "Failed to create registry key"
        }
    }
}
# Else just add the extension as the first extension
else {

    Write-Host -ForegroundColor Red "No extensions already added. Adding the extensions as the first one"
    try {
        New-ItemProperty -Path $RegistryPath -Name 1 -PropertyType $KeyType -Value $ExtensionID
    }
    catch {
        Write-Host -ForegroundColor Red "Failed to create registry key"
    }
}
Running the script
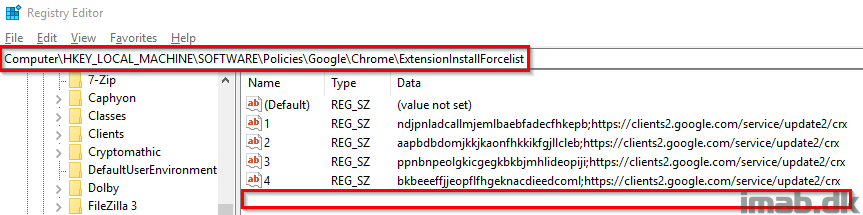
This is my computer prior to running the script. I have extensions added by ConfigMgr.
The real treat here is, that the extension added through above script automatically picks the next available number. Any other available method dictates that you are aware of existing extensions.
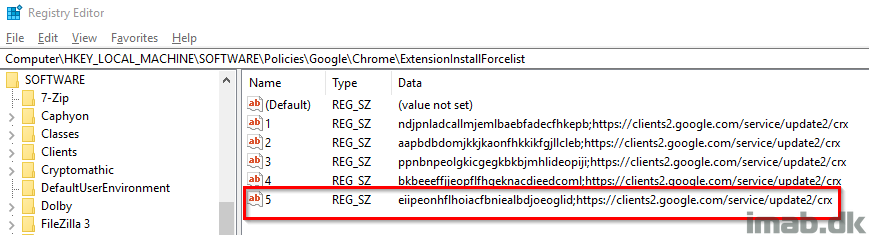
And after the script is run:
Put to use in Intune
This part is self explanatory, but for good measures head into the Microsoft 365 Device Management Portal at https://devicemanagement.microsoft.com and browse your way to Device Configuration -> Powershell scripts.
Add the script from above and assign it to your devices/users. Voila. Extensions for Chrome incoming.

Method 2: ADMX Ingestion
Regardless of whatever method you prefer, I think this is considered the most complicated. I will try to cover the basics in the most sensible way I can. If you want some deep dive details, please read Michael Mardahl’s excellent post here: https://www.iphase.dk/silent-configure-outlook-with-intune/
The first thing you need to do is to download the Google Chrome Administrative Templates. This is done from this link: https://cloud.google.com/chrome-enterprise/browser/download/
Once that is done, the file of interest is chrome.admx.
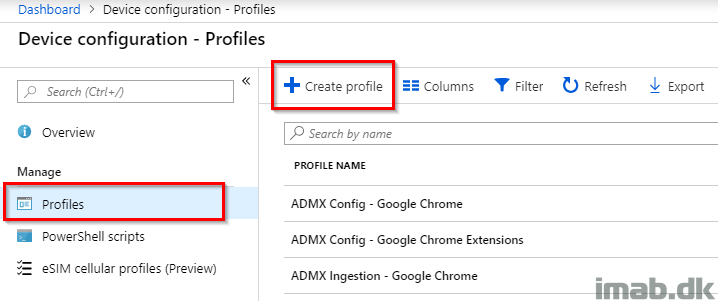
With that in hand, head into the Microsoft 365 Device Management Portal once again and browse to Device configuration – Profiles and Create a profile.
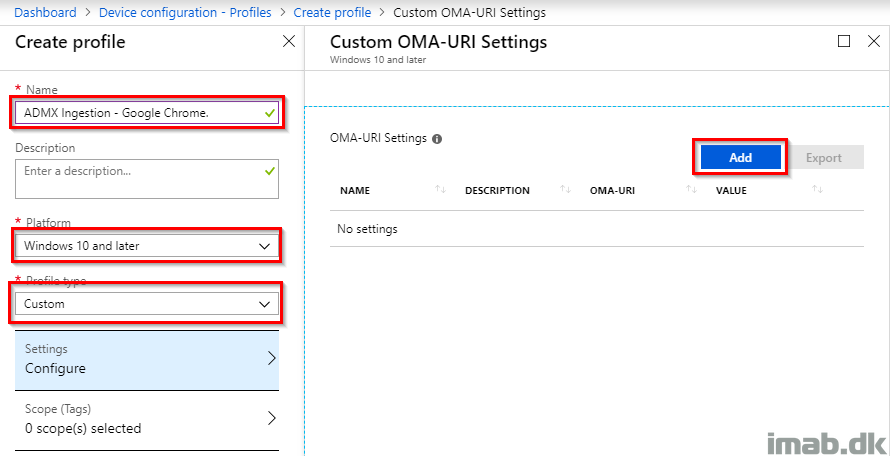
In the new profile:
- Name: Give it a suitable name like ADMX Ingestion – Google Chrome
- Platform: Windows 10 and later
- Profile type: Custom
- Click Add
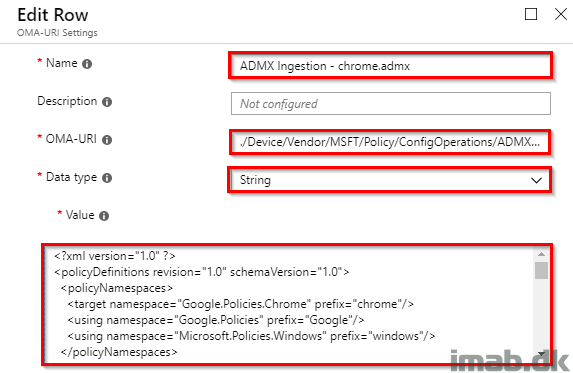
In the Edit Row blade:
- Name: ADMX Ingestion – chrome.admx
- OMA-URI: ./Device/Vendor/MSFT/Policy/ConfigOperations/ADMXInstall/Chrome/Policy/ChromeAdmx
- Data type: String
- Value: Copy / paste ALL the content from the chrome.admx file you downloaded earlier. That’s currently 2400-something lines of XML formatted awesomeness. Yes, it all fits into the text box.
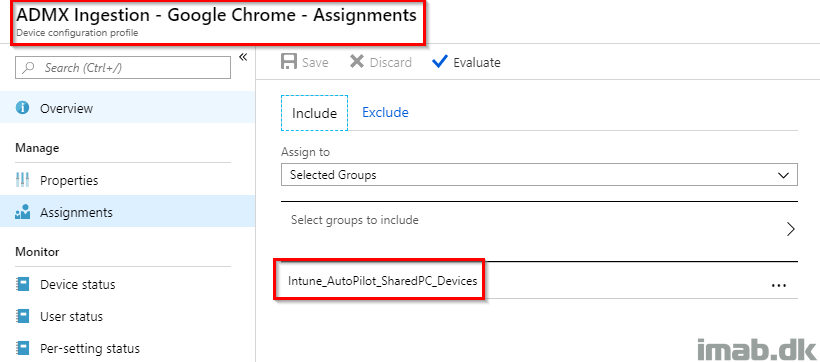
Assign the Device Configuration Profile to a group consisting of devices similar to below example:
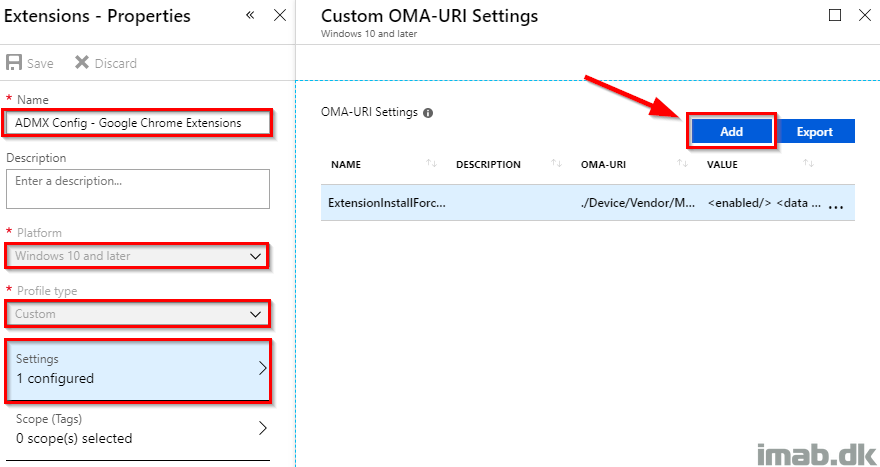
NEXT! Create another custom Windows 10 Device Configuration Profile with the same options as the first profile.
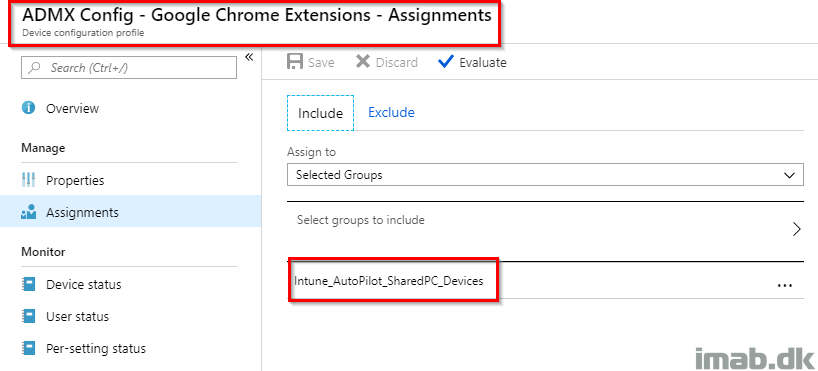
- Name: ADMX Config – Google Chrome Extensions
- Platform: Windows 10 and later
- Profile type: Custom
- Click Add
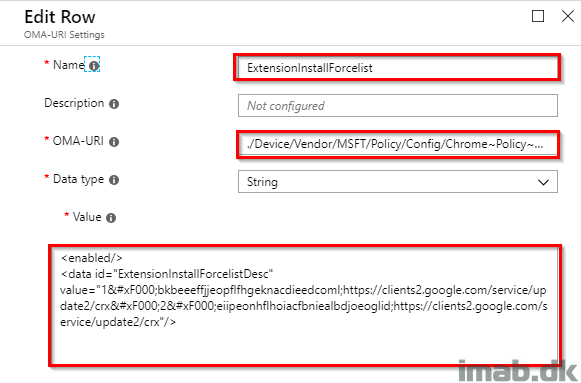
Again, in the Edit Row blade:
- Name: ExtensionInstallForcelist
- OMA-URI: ./Device/Vendor/MSFT/Policy/Config/Chrome~Policy~googlechrome~Extensions/ExtensionInstallForcelist
- Data type: String
- Value: <enabled/>
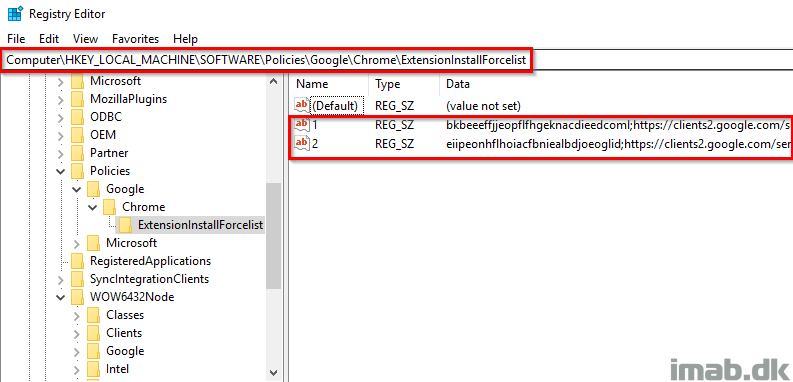
<data id=”ExtensionInstallForcelistDesc” value=”1bkbeeeffjjeopflfhgeknacdieedcoml;https://clients2.google.com/service/update2/crx2eiipeonhflhoiacfbniealbdjoeoglid;https://clients2.google.com/service/update2/crx”/>
NOTE: Here you will see the requirement to specify the consecutive numbering manually. I’m adding 2 extensions in this profile and they are added as number 1 and 2, both highlighted in above code. This will potentially be a conflict if existing extensions are added by other means and 1 and 2 already exists on the device.
Assign this Device Configuration Profile as well to the same group consisting of devices. See my example below:
The result is the 2 entries in the registry being added:
Method 3: Packaged as MSI
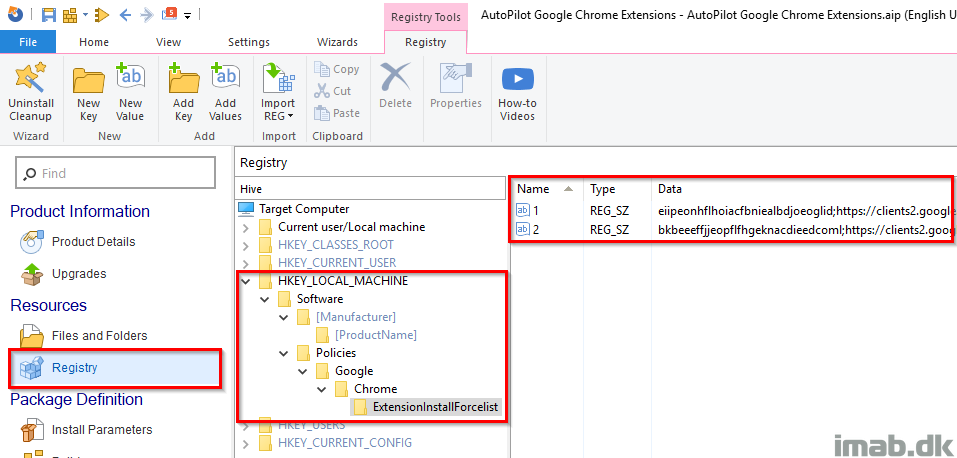
Last but not least. A pragmatic approach is to simply package the registry entries into a MSI file.
Below is an example from Advanced Installer. This can be done with the free license.
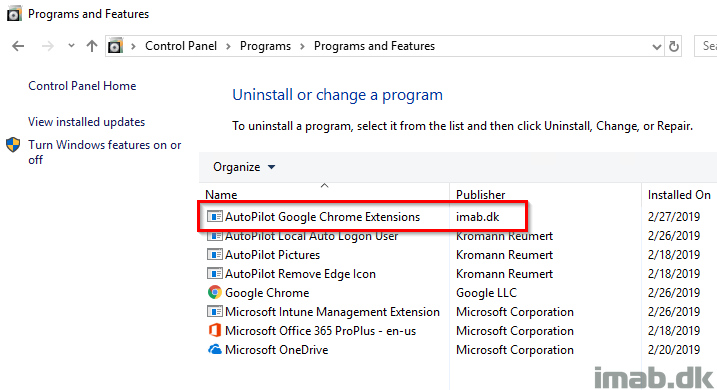
This will obviously be registered with the Windows installer and thus appear from the Programs and features list.
The initial advantage here is also that the installation can be tracked with the Enrollment Status Page with AutoPilot – awesome stuff
End Result
Regardless of whatever method you prefer, the end result is the same. Delicious extensions in Google Chrome are added automatically!
Ref: https://www.imab.dk/install-google-chrome-extensions-using-microsoft-intune/