Based on the thread from Lubos Rendek.
https://linuxconfig.org/install-wordpress-on-redhat-8
This article covers an installation of WordPress, free and open-source content management system, on RHEL 8 Linux Server. In this instance the installation is based on the well-know LAMP stack comprising the RHEL 8, MariaDB, PHP and Apache webserver.
In this tutorial you will learn:
- How to Install LAMP Stack on RHEL 8 / CentOS 8.
- How to configure MariaDB database.
- How to install WordPress on RHEL 8 / CentOS 8.
- How to open HTTP and HTTPS firewall ports.
Installed WordPress on Red Hat Enterprise Linux 8 Server/Workstation.
Software Requirements and Conventions Used
| Software Requirements and Linux Command Line Conventions | |
| Category | Requirements, Conventions or Software Version Used |
| System | RHEL 8 / CentOS 8 |
| Software | MariaDB Server 10.3.10, PHP 7.2.11-1, Apache/2.4.35 (Red Hat Enterprise Linux) |
| Other | Privileged access to your Linux system as root or via the sudo command. |
| Conventions | # – requires given linux commands to be executed with root privileges either directly as a root user or by use of sudo command $ – requires given linux commands to be executed as a regular non-privileged user |
How to install WordPress on RHEL 8 / CentOS 8 Linux step by step instructions
The following command will install all prerequisites and tools required to perform the WordPress installation:
- # dnf makecache
- # dnf install php-mysqlnd php-fpm mariadb-server httpd tar curl php-json
- Open HTTP and optionally HTTPS port 80 and 443 on your firewall:
- # firewall-cmd –permanent –zone=public –add-service=http
- # firewall-cmd –permanent –zone=public –add-service=https
- # firewall-cmd –permanent –zone=public –add-port=3306/tcp
- # firewall-cmd –reload
- Start both the Apache webserver and the MariaDB services:
- # systemctl start mariadb
- # systemctl start httpd
Enable MariaDB and httpd to start after system reboot:
# systemctl enable mariadb
# systemctl enable httpd
(Optional) Secure your MariaDB installation and set root password:
- # mysql_secure_installation
- Create a new database wordpress and give new user admin access to the wordpress database with password pass:
- # mysql -u root -p
- mysql> CREATE DATABASE wordpress;
- mysql> CREATE USER `admin`@`localhost` IDENTIFIED BY ‘Password’;
- mysql> GRANT ALL ON wordpress.* TO `admin`@`localhost`;
- mysql> FLUSH PRIVILEGES;
- mysql> exit
- Download and extract WordPress. Start by downloading the WordPress installation package and extracting its content:
- $ curl https://wordpress.org/latest.tar.gz –output wordpress.tar.gz
- $ tar -xzvf wordpress.tar.gz
Copy the extracted WordPress directory into the /var/www/html directory:
# cp -r wordpress /var/www/html
Lastly in this step, change permissions and change file SELinux security context:
# chown -R apache:apache /var/www/html/wordpress
# chcon -t httpd_sys_rw_content_t /var/www/html/wordpress -R
Access WordPress installation wizard and perform the actual WordPress installation. Navigate your browser to http://localhost/wordpress or http://SERVER-HOST-NAME/wordpress and follow the instructions.
Enter previously configured database details as per Step 5.
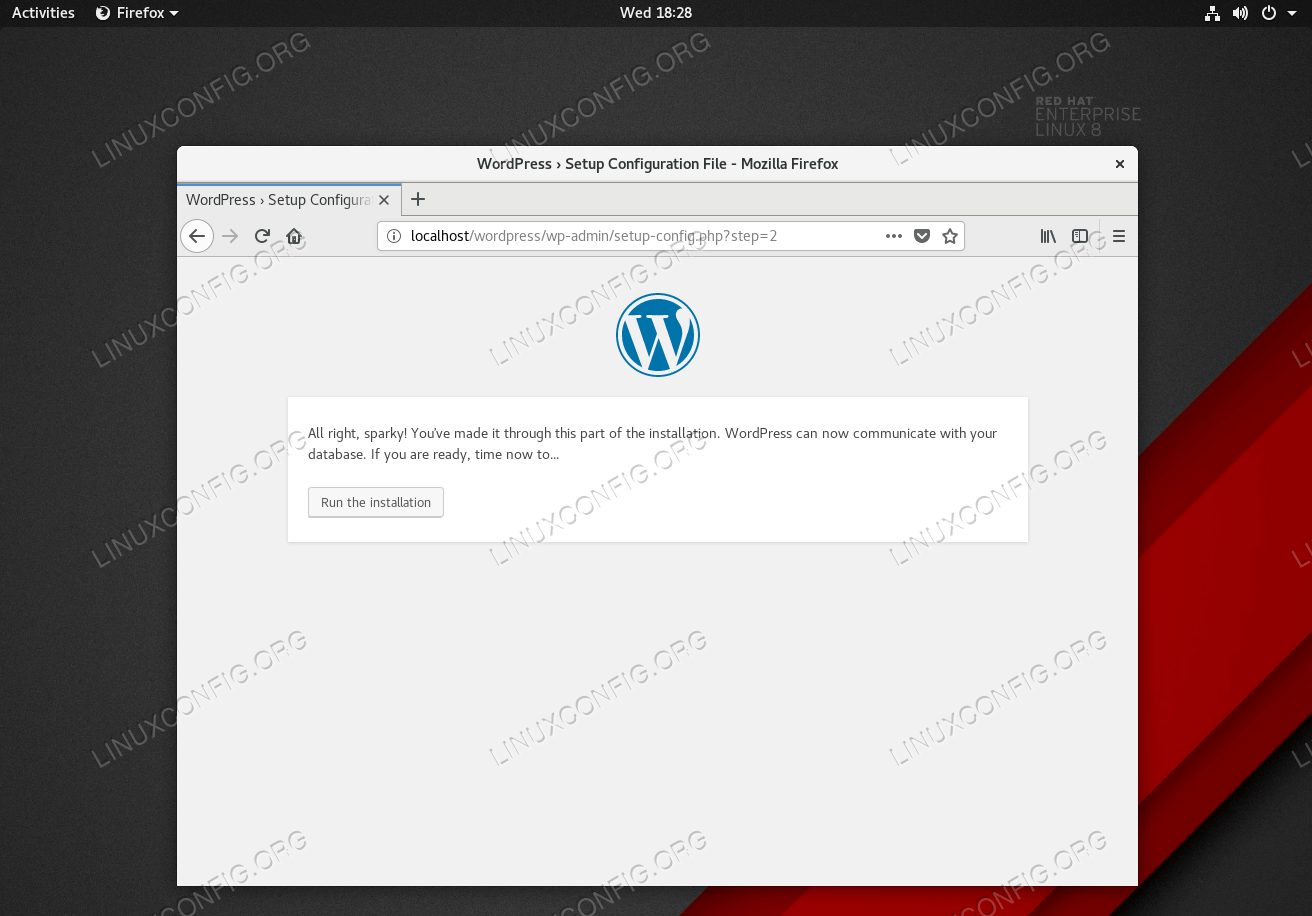
Start WordPress installation by clicking on the Run the installation button.
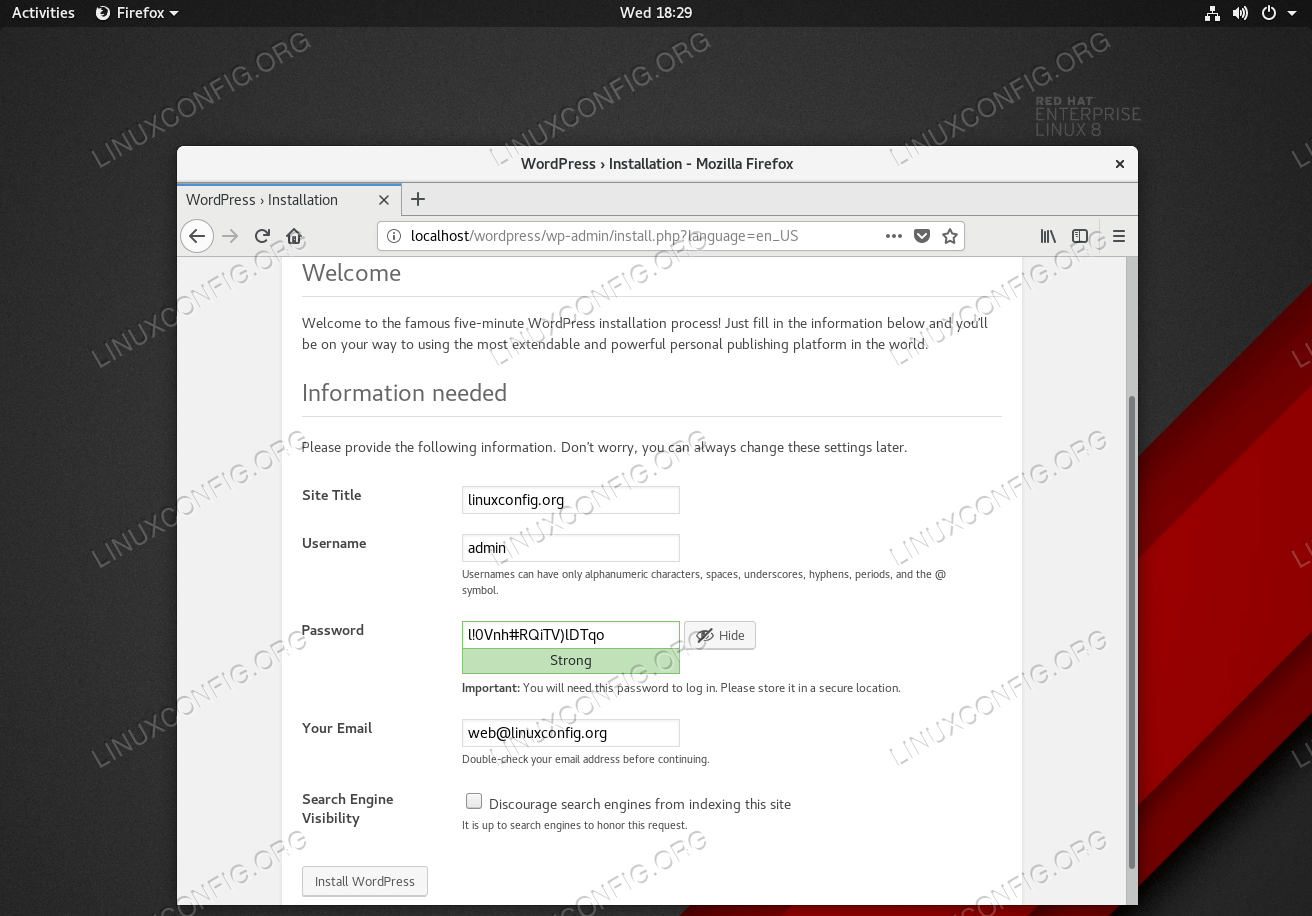
Provide the requested information by the WordPress wizard.
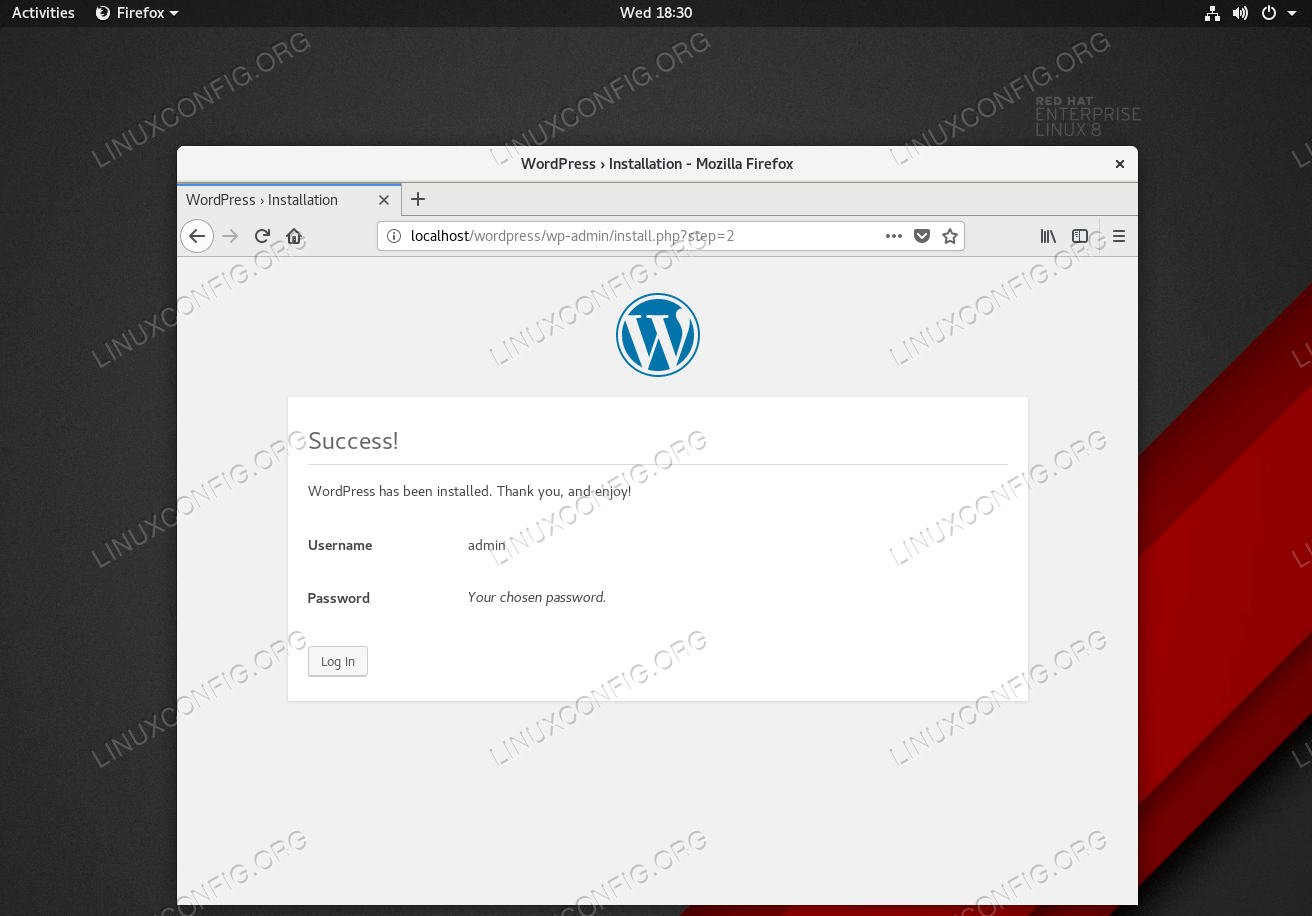
This screen will show once the WordPress installation was successful.
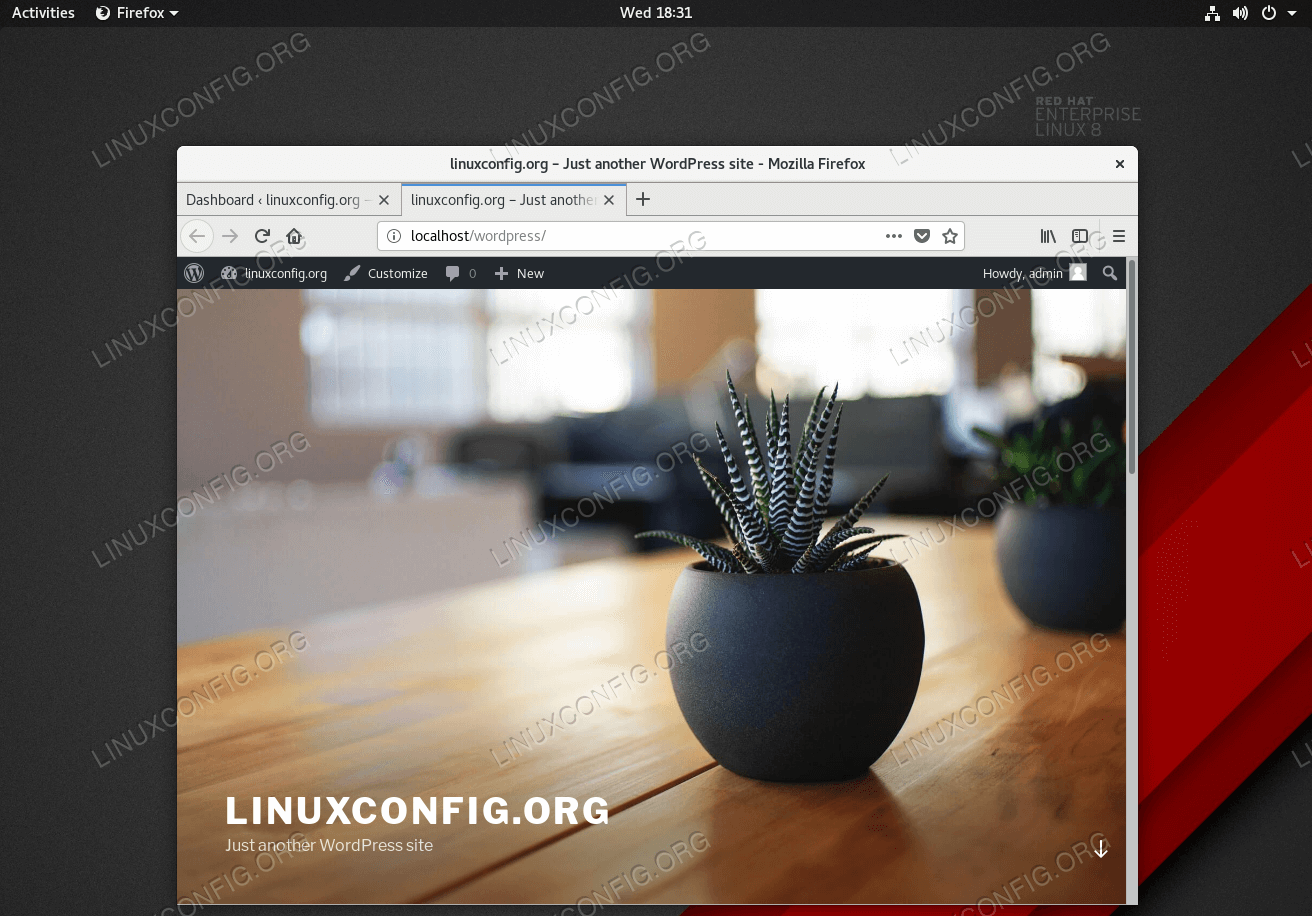
Login with your new user credentials.
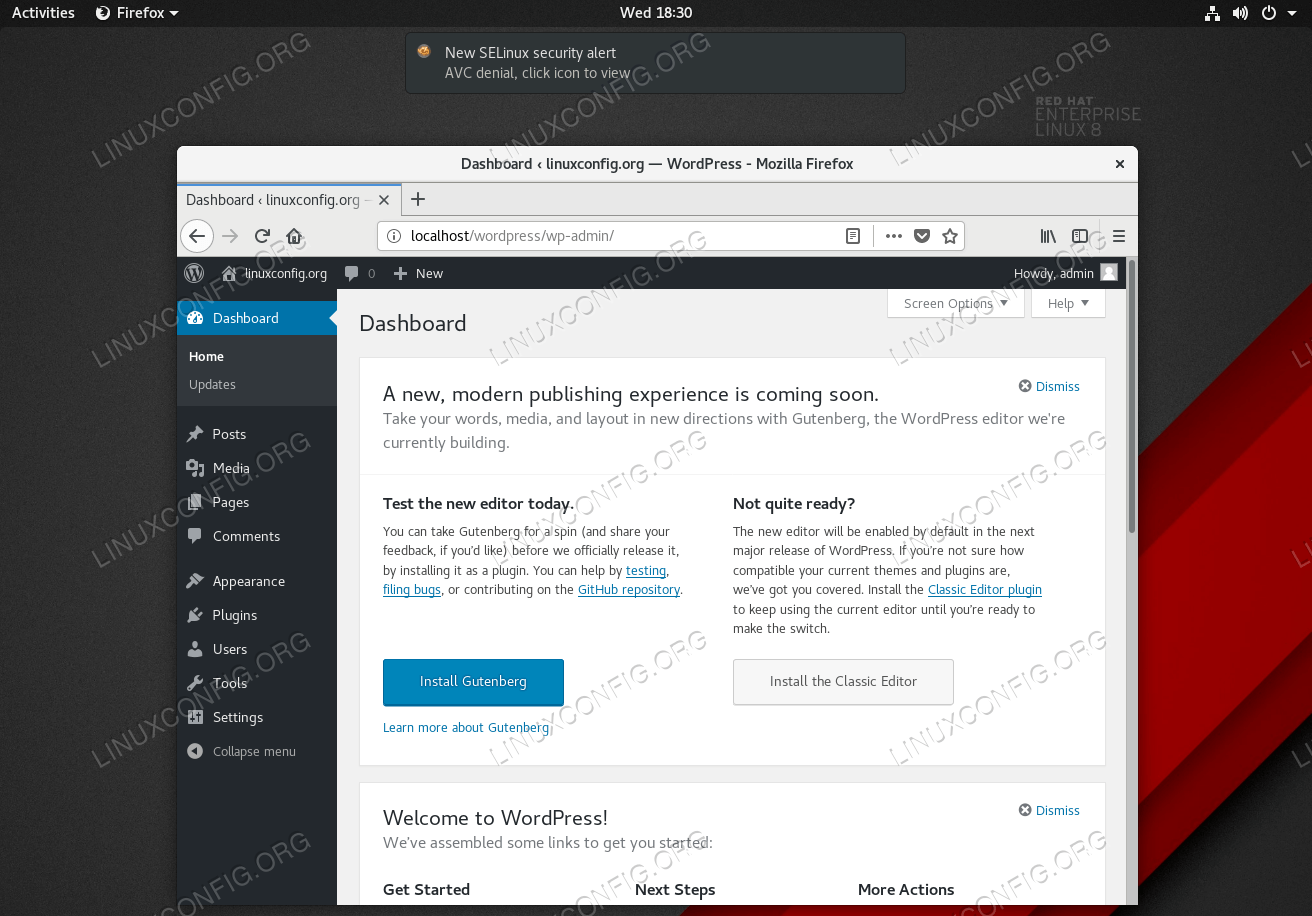
WordPress admin back-end. All done.