When you sync files by using the sync app, you can choose how much of your network bandwidth you use.
- Select the white or blue OneDrive cloud icon in the Windows taskbar notification area.

- Select More > Settings.
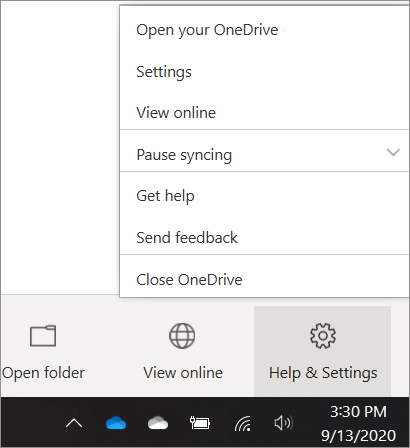 (You might need to click the Show hidden icons arrow next to the notification area to see the OneDrive icon.)
 - Select the Network tab.
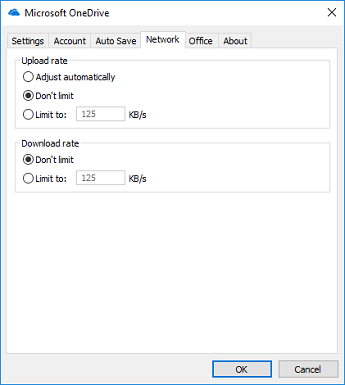
- If you’re syncing work or school files and don’t see the Network tab, the settings are managed by your IT department.
- Select an option under Upload rate and Download rate, and then select OK.You can limit the upload and download throughput to a fixed rate (the minimum rate is 50 KB/sec, and the maximum rate is 100,000 KB/sec). The lower the rate, the longer it will take your files to upload and download. Instead of limiting upload throughput to a fixed rate, you can also set it to “Adjust automatically.” This setting enables the OneDrive sync client (OneDrive.exe) to upload data in the background by only consuming unused bandwidth and not interfere with other applications using the network.
Tips:
- If you’re on a slow network temporarily, you can pause syncing instead of setting limits on the upload and download rates. To do this, click the OneDrive icon in the notification area on your taskbar, select More in the activity center, click Pause syncing, and then select how long you want to pause syncing.
- If you have large files to upload, try to do so when you’re on a fast network.