When setting up a web server it can be difficult to know what security measures need to be put in place.
There are lots of things to think about such as which permissions to apply, which ports to open and which security protocols to enable.
Luckily, if you are using IIS, there is a tool that can help you out with the configuration of the security protocols; IIS Crypto.
In the sections that follow I am going to show you where you can get access to IIS Crypto, how to install it and how to use it.
Download
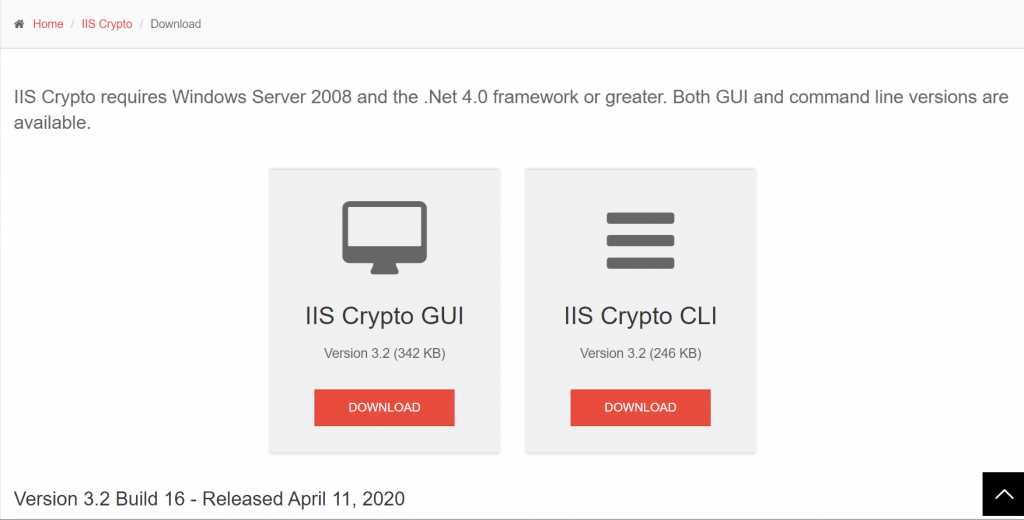
IIS Crypto is a free tool developed by Nartac Software.
You can download IIS Crypto from the Nartac website download page.

IIS Crypto is available both as a GUI (Graphical User Interface) and in the form of a CLI (Command-Line Interface).
If you are unfamiliar with the tool and/or only need to administer one or two servers, I recommend starting off with the GUI version of the tool.
Installation
After downloading the GUI version of IIS Crypto, double-click the EXE to launch the tool.
The tool requires administrative privileges so you will need to click ‘Yes’ on the UAC (User Account Control) elevation prompt when it appears.
Before the main user interface is displayed you’ll also need to accept the License Agreement.
After accepting the License Agreement, the main interface will load.

Now we can look at the basic usage of the tool and see how it can help us make our web servers more secure.
Applying best practices
IIS Crypto allows many aspects of your web server security to be configured.
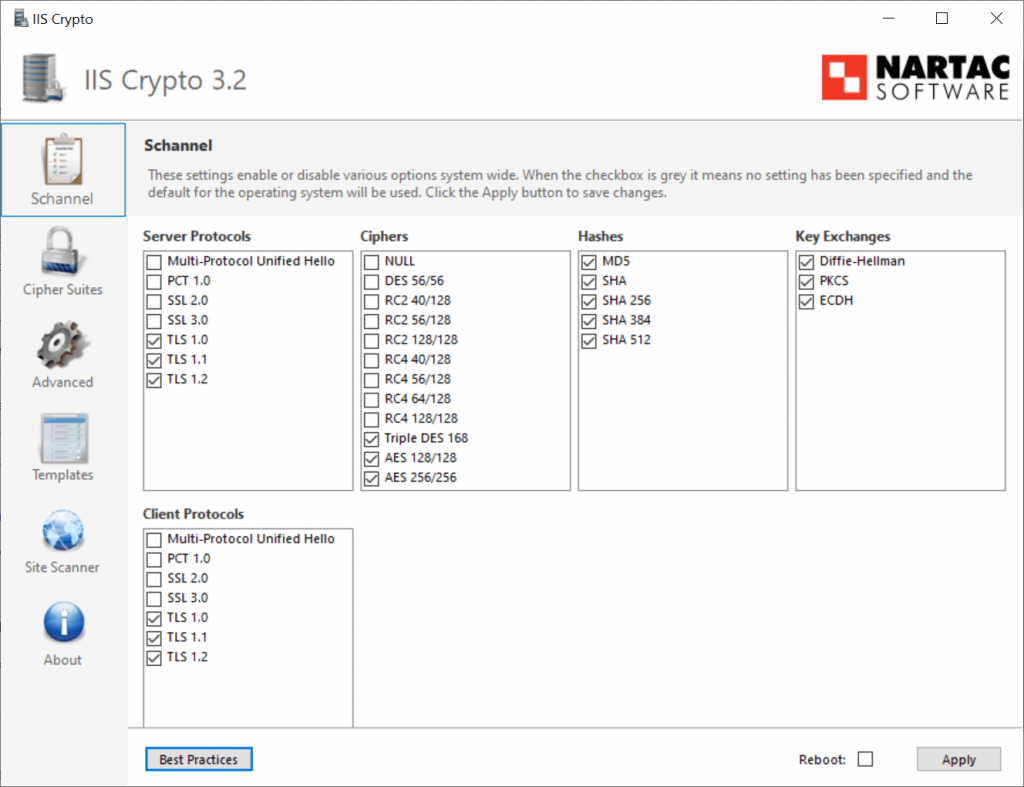
The ‘SChannel’ page of the user interface is the default section that appears whenever the tool is launched. Initially, all of the checkboxes will be grey, indicating that a specific value has not been specified. Therefore, the default operating system settings will be used.
The tool comes with a convenient ‘Best Practices’ button, which I have pressed in the previous screenshot.
Note that setting the best practices also updates the list of ciphers that are enabled within the ‘Cipher Suites’ section of the user interface.
After pressing the Best Practices button you will need to press the ‘Apply’ button to save the changes.
Consider backing up the Windows Registry before proceeding, just in case you need to revert the changes.
Go ahead and apply the changes when you are ready and you will then receive a confirmation message.
You can, of course, individually select the protocols and other options which you wish to enable or disable. However, the best practices are a great starting point, disabling insecure protocols such as SSL 3.0 which are subject to the POODLE attack.
Advanced options
We can take things further by exploring some of the additional settings which are exposed by the IIS Crypto user interface.
The ‘Advanced’ section of the interface allows the DHE (Diffie-Hellman Hardening) Minimum Key Length to be set. When you set best practices the minimum length is set to 2048 bytes.
There are some other useful options such as the ‘Only Use FIPS Algorithms’ checkbox which can help you to ensure that only Federal Information Processing Standard compliant cryptography is used.
Additionally, there is a convenient option to back up the Registry. It is a really good idea to back up the Registry before applying any changes using IIS Crypto, as underneath the tool makes many Registry changes which you would otherwise have to make manually.
Lastly, the ‘Templates’ section of the interface provides the ability to apply even stricter security configurations where required, at the risk of breaking existing applications.
Note that it is essential to test any web application you are running via IIS thoroughly after making any security configuration changes with IIS Crypto.
As an example, the ‘PCI 3.2’ and the ‘Strict’ templates apply much stricter settings, disabling the TLS 1.0 and TLS 1.1 protocols. These stricter configurations can help you meet compliance requirements, without necessarily needing to understand the nuances of every individual security setting.
Testing the changes
Now that the security updates have been applied we can test how much more secure our web server configuration is.
The ‘Site Scanner’ section of the IIS Crypto user interface provides a convenient way of generating a server security report. Simply enter the URL of your website into the ‘Url’ field and press the ‘Scan’ button to launch the SSL Labs website.
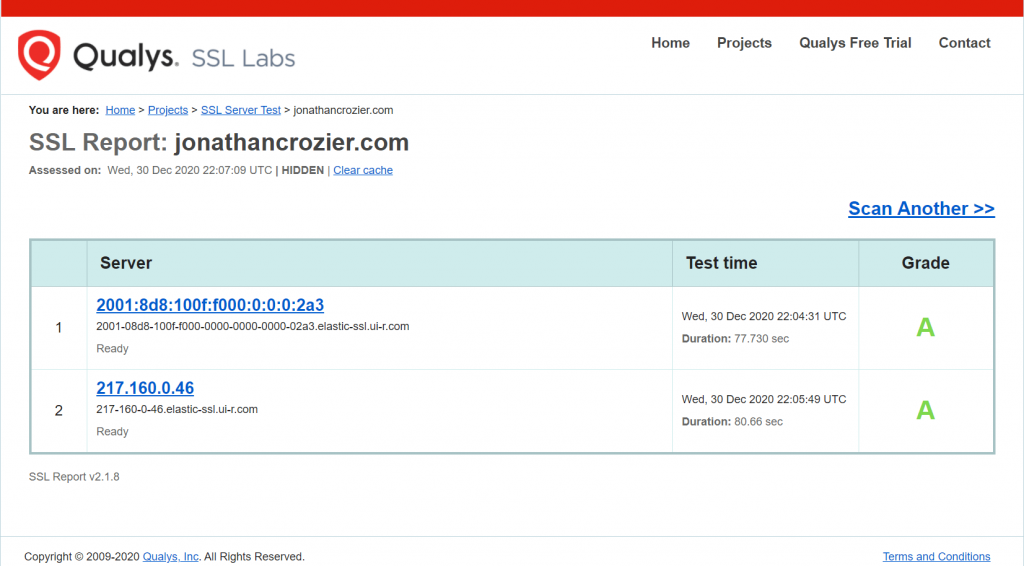
The SSL Labs report will grade your website according to the security protocols which are enabled.

All being well, you should get an A if your web server security configuration is good.
Additionally, you can click on the blue link/links to get a detailed report of many different security aspects of your website along with the full test results.
Summary
IIS Crypto is a great tool that allows us to get some quick wins in regards to web server security.
The IIS Crypto user interface greatly simplifies the process of applying security best practices.
Once you know the tool exists, you’ll find that it will come in handy any time you are setting up an IIS web server.
As the next step, I recommend that you read up on the various aspects of web server security which the IIS Crypto tool allows you to configure.
This includes the following topics.
After reading up on all of the above you should feel much more confident regarding your web server security configuration and can fine-tune the settings further as needed in the future.
Ref: Hardening your IIS web server configuration with IIS Crypto – Jonathan Crozier